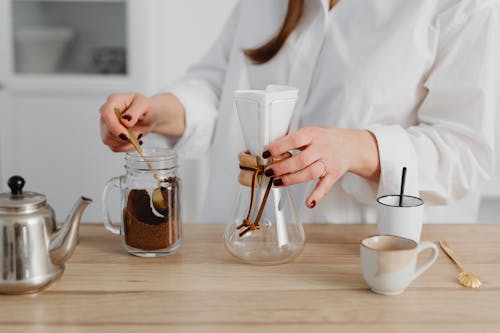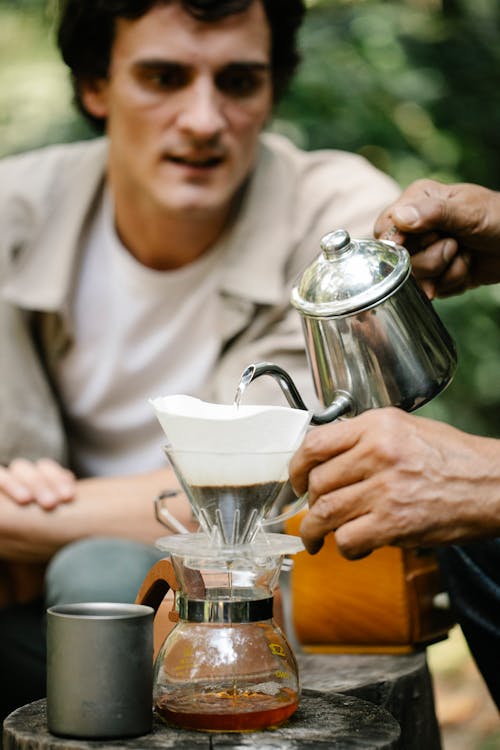
Cold brew coffee has become a favorite among coffee enthusiasts for its smooth, refreshing, and naturally sweet taste. It’s perfect for warm days or whenever you crave a chilled caffeine boost. The best part? You don’t need fancy equipment or barista skills to make it at home. With a few simple steps, you can enjoy delicious cold brew coffee right from your kitchen. And with Nomadix, you can even take that cold brew with you on all your adventures. Let’s dive into how to craft the perfect cold brew.
What You'll Need:

- Coarse-ground coffee: The coarser, the better. It prevents over-extraction, which can lead to bitterness.
- Cold, filtered water: Quality water makes a difference, so opt for filtered if possible.
- A large jar or pitcher: This will be your brewing vessel.
- A fine mesh strainer or cheesecloth: To strain out the coffee grounds once brewing is complete.
- A storage container: Something airtight to keep your cold brew fresh in the fridge.
Step 1: Choose Your Coffee-to-Water Ratio
The ratio of coffee to water is crucial in cold brew. A good starting point is 1 cup of coarse-ground coffee to 4 cups of water. This will give you a strong concentrate that you can dilute with water, milk, or your favorite creamer. If you prefer a milder brew, you can adjust the ratio to your taste.

Step 2: Combine Coffee and Water
Place your coffee grounds into the jar or pitcher. Pour cold, filtered water over the grounds, making sure they’re fully saturated. Stir gently to ensure all the coffee is in contact with the water. The idea here is to let the coffee steep slowly, extracting the rich flavors without the bitterness that hot water can bring out.

Step 3: Let It Steep
Cover your jar or pitcher and let it sit at room temperature or in the fridge. The steeping process takes time—anywhere from 12 to 24 hours. The longer it steeps, the stronger the flavor. If you’re after a bolder taste, let it steep closer to 24 hours. For a lighter brew, 12-16 hours will do the trick.

Step 4: Strain the Brew
Once your cold brew has steeped to your desired strength, it’s time to strain out the grounds. Using a fine mesh strainer or cheesecloth, pour the brew into a clean container. You may need to strain it twice to ensure there are no grounds left in your coffee.

Step 5: Serve and Enjoy
Your cold brew concentrate is ready! You can store it in the fridge for up to two weeks. To serve, pour it over ice and dilute it with water, milk, or your favorite non-dairy alternative. You can also add syrups, sweeteners, or spices like cinnamon for a customized flavor. The beauty of cold brew is its versatility—play around with different combinations until you find your perfect cup.

Bonus Tips for Cold Brew Mastery
- Experiment with different beans: The type of coffee bean you use can dramatically change the flavor profile. Light roasts bring out fruity notes, while dark roasts offer a richer, chocolatey taste.
- Get creative with add-ins: Cold brew is a great canvas for flavors. Try adding a splash of vanilla extract, a sprinkle of cocoa powder, or a drizzle of caramel for a delicious twist.
- Make it portable: Love your cold brew on the go? Prepare your cold brew concentrate ahead of time and take it with you using the NOMADIX portable coffee maker. It’s the perfect way to enjoy your cold brew while hiking, traveling, or simply relaxing outdoors.
Conclusion
Making cold brew coffee at home is a simple, rewarding process that delivers a deliciously smooth and refreshing drink. With just a few ingredients and a little patience, you can create a custom cold brew that’s perfect for your taste buds. And with NOMADIX, you can take that perfect cold brew wherever your adventures lead you. So why not give it a try? Your perfect cup of cold brew is just a few steps away!


Laisser un commentaire
Ce site est protégé par hCaptcha, et la Politique de confidentialité et les Conditions de service de hCaptcha s’appliquent.